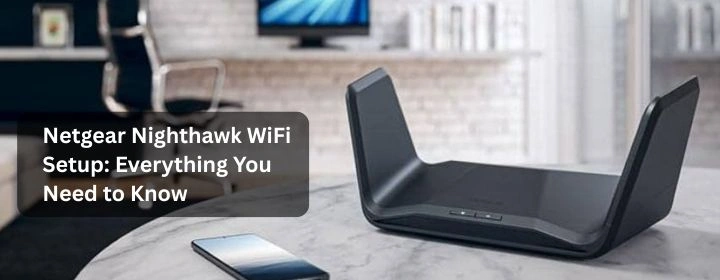
If you are tired of weak WiFi signals, constant buffering and dropped connections, the Netgear Nighthawk might be the solution of your home network needs. It is built for both average users and tech enthusiasts and this line of routers and extenders delivers fast, secure and stable wireless connections across your entire home. Whether you are working from home, watching a new show or gaming online then the Netgear Nighthawk devices can handle the load efficiently without even blinking.
In this blog, we will cover everything you need to know about how to setup Netgear Nighthawk devices in easy and simple words.
Step 1: What is Inside the Box?
Before proceeding with the setup process make sure that you have all the necessary things. When you open the box of a Netgear Nighthawk router here is what you should see:
- The router unit
- A power adapter
- An Ethernet cable
A quick start guide
- Sometimes antennas (on certain models, these are detachable)
Cross-check everything as if you don’t have these essentials then the setup process can be delayed.
Step 2: Connect the Hardware
Now let’s set it up and get it working.
- Make sure to unplug your modem (if you have one).
- Once the modem is unplugged then connect the ethernet cable from your modem to the yellow internet port on your Netgear Nighthawk router.
- Then, plug in the router and modem.
- Wait for the LED lights to turn stable and this usually takes 1 to 2 minutes.
Once the router boots up, you can clearly see the power light turn solid white or green depending on your model.
This is all about the hardware part.
Step 3: Setup Using Nighthawk App or Browser
So, now let’s understand how to setup Netgear Nighthawk? The setup can be done easily with the help of two methods:
Method A: Using the Nighthawk App
This method is generally suitable for the beginners.
- Get the Nighthawk App from Google Play or the App Store.
- Visit the app and follow the instructions as prompted on screen.
- It will search your router and help you walk through naming your network (SSID), setting a password and checking for firmware updates.
The app is simple to use and if even if you are not tech-savvy and it also helps you control and manage your interface is beginner-friendly and does not throw in confusing tech lingo. It also helps you manage your network later.
Option B: Web-Based Setup
If you had rather use a computer:
- Connect your PC or laptop with the Nighthawk WiFi network. The default network name is SSID and password which can be found easily on the label attached to your router.
- Visit any browser and type http://www.routerlogin.net or http://192.168.1.1
- You have to login with the help of login credentials if you have not changed them before.
- You will reach on the dashboard and can follow the setup wizard from here.
Both of these methods work properly but make sure to use only one method during setup to avoid any issue.
Step 4: Name Your Network + Set a Strong Password
Once you are in, change the default network name and password. It is advisable to set a strong password and different which you can remember easily.
Why it matters:
The changes are advisable to protect your network from freeholders and potential threats.
Use a mix of letters, numbers and symbols for your password. The app usually rates your password strength, so keep going till you see it is “Strong.”
Step 5: Firmware Update (Don’t Skip This)
Once your internet is working then you want to move on but don’t skip the last step which is update the firmware.
Both the Nighthawk app and the web interface will instruct you to check for updates. If any update is available then then download and install the latest firmware and this takes around 5 to 10 minutes.
Step 6: Connect Your Devices
Now hold your phone, laptop and smart TV whatever is available with you. Look for your new WiFi name, enter the password and then connect. That is all. There will be no more switching rooms to get signal bars.
If you have a Netgear Nighthawk extender, you can pair it now to boost coverage in weak spots. You will find a WPS button on both devices and make sure to press and hold them firstly the router and then extender and they will sync up in under 2 minutes.
Helpful Tips to Remember
- The router is to be placed in between and not behind a TV or in a closed cabinet.
- Look nearby WiFi networks to avoid using the same channel as your neighbors (the app can help with this).
- Restart your router once every couple of weeks as it helps to refresh connections.
If something does not work in a right away then reboot and retry. A lot of errors will get fixed with a simple reset.
Conclusion
Now, with the help of these simple steps you know how to setup Netgear Nighthawk in the more efficient way. Whether you are a first time user or just upgrading your home network you can do this setup without any hassle.