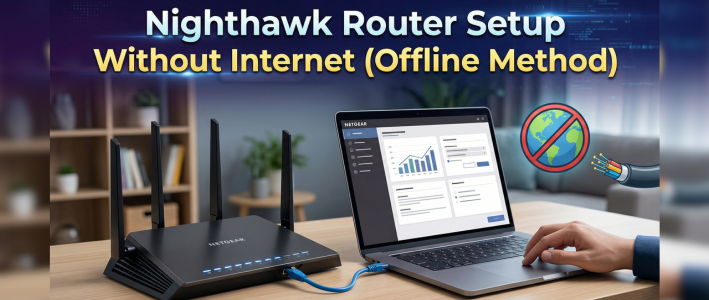
Nighthawk Router Setup Without Internet (Offline Method)
Setting up your router usually requires an active internet connection, but what if your internet isn’t working yet? Don’t worry-you can still complete your nighthawk router setup using an offline method. This guide will walk you through step-by-step instructions to configure your router without internet access, including how to use the netgear nighthawk app for basic setup.
What You Need Before Setup
Before you begin, make sure you have:
- Netgear Nighthawk router
- Power adapter
- Ethernet cable (optional but recommended)
- Smartphone, laptop, or desktop
- Default router login details
Even without the internet, these essentials will help you complete the setup.
Step 1: Power On Your Router
- Plug your Nighthawk router into a power outlet
- Turn it on using the power button
- Wait for the LED lights to stabilize
This indicates that the router is ready for configuration.
Step 2: Connect to Nighthawk Network
- Open WiFi settings on your device
- Look for the default Nighthawk network name (SSID)
- Connect using the default password (found on router label)
Alternatively, you can connect your device using an Ethernet cable for a more stable connection.
Step 3: Access Router Login Page
- Open a web browser (Chrome, Edge, Safari)
- Type routerlogin.net or 192.168.1.1
- Press Enter
This will open the router’s local setup page-even without internet.
Step 4: Log in to Router Dashboard
- Username: admin
- Password: password (default, unless changed)
After logging in, you’ll be able to access the router settings.
Step 5: Complete Basic Nighthawk Router Setup
Even without internet, you can configure essential settings:
- Change WiFi network name (SSID)
- Set a strong WiFi password
- Create admin login credentials
- Configure basic security settings
This completes the initial nighthawk router setup.
Step 6: Use Netgear Nighthawk App (Offline Mode)
The netgear nighthawk app can still be used for limited setup.
Steps:
- Download and open the netgear nighthawk app
- Connect your phone to the router’s WiFi
- Open the app and select your router
- Follow basic setup instructions
Note: Some features may require an internet connection.
Step 7: Connect Internet Later
Once your internet becomes available:
- Connect your modem to the router
- Restart both devices
- Re-access the dashboard to complete setup
Your router will automatically detect the internet connection.
What You Can Do Without Internet
Even offline, you can:
- Set WiFi name and password
- Secure your network
- Configure admin settings
- Connect devices locally
This allows you to prepare your network in advance.
Troubleshooting Offline Setup Issues
Cannot Access Login Page
- Ensure you are connected to router network
- Use IP address (192.168.1.1)
- Try a different browser
Login Not Working
- Double-check credentials
- Reset router if needed
App Not Detecting Router
- Ensure phone is connected to router WiFi
- Restart the app and router
Reset Router (If Needed)
If setup fails:
- Locate the reset button
- Press and hold for 10 seconds
- Wait for reboot
- Start setup again
Tips for Smooth Setup
- Use Ethernet for stable connection
- Keep router near your device
- Avoid interruptions during setup
- Update firmware once internet is available
Common Mistakes to Avoid
- Trying to access setup without connecting to router
- Entering incorrect login credentials
- Skipping security settings
- Ignoring firmware updates later
Final Thoughts
You don’t need an active internet connection to complete your nighthawk router setup. By accessing the local login page or using the netgear nighthawk app, you can configure essential settings and prepare your network in advance. Once your internet is connected, your router will be ready to deliver fast and secure connectivity.
This offline method is especially useful for new installations, troubleshooting, or setting up networks in advance-making your setup process quick and hassle-free.