How to Set Up Netgear Nighthawk Router Without App (Easy Method)
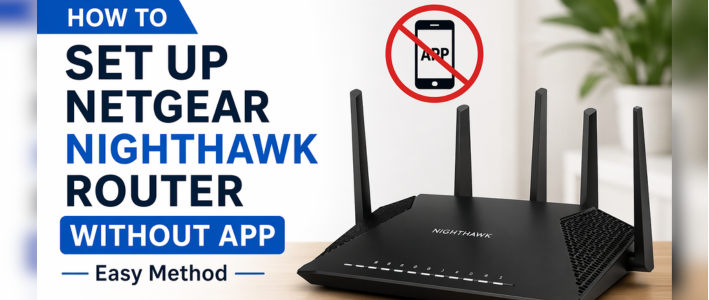
Setting up your Netgear Nighthawk router doesn’t always require a mobile app. While the app is convenient, many users prefer a manual setup using a web browser for better control and flexibility. If you’re someone who wants a simple, reliable, and app-free method, this guide will walk you through everything step by step.
In this article, you’ll learn how to set up your Nighthawk router without using the app, along with useful tips to avoid common issues.
Why Set Up Nighthawk Router Without the App?
There are several reasons why users skip the app-based setup:
- You may not want to install additional apps on your phone
- The app may not work properly on your device
- You prefer configuring settings manually
- You are setting up the router from a desktop or laptop
Manual setup gives you full access to advanced settings and often works more reliably.
What You Need Before Setup
Before starting the process, make sure you have the following:
- Netgear Nighthawk router
- Active internet connection (modem)
- Ethernet cable
- Computer or laptop
- Router login details (usually printed on the label)
Step-by-Step Guide to Set Up Nighthawk Router Without App
Follow these simple steps to complete your setup:
Step 1: Connect Your Router
Start by connecting your router physically:
- Plug the router into a power source
- Connect the modem to the router’s WAN/Internet port using an Ethernet cable
- Turn on both devices
Wait for the router’s LED lights to stabilize. This usually takes 1–2 minutes.
Step 2: Connect Your Device to the Router
Now connect your computer or laptop to the router:
- Use WiFi (default network name and password are on the router label) or
- Use an Ethernet cable for a more stable connection
Once connected, you’re ready for setup.
Step 3: Open a Web Browser
Open any browser like Chrome, Edge, or Firefox and type the following in the address bar:
- http://192.168.1.1 or
- http://routerlogin.net
Press Enter.
This will take you to the router login page.
Step 4: Login to the Router
You will see a login screen asking for credentials:
- Username: admin
- Password: password (or as printed on the router label)
After entering the details, click Login.
Step 5: Start the Setup Wizard
Once logged in, the setup wizard will automatically start in most cases.
- Click on “Set Up New Router” or “Setup Wizard”
- Choose Automatic Setup
The router will now detect your internet connection and configure settings automatically.
Step 6: Configure WiFi Settings
Next, you’ll be asked to set your wireless network details:
- Enter a new WiFi Network Name (SSID)
- Set a strong WiFi Password
Make sure your password includes a mix of letters, numbers, and symbols for better security.
Click Apply to save changes.
Step 7: Reconnect to Your New Network
After saving settings:
- The router will restart
- Your device will disconnect automatically
Reconnect using your new WiFi name and password.
Step 8: Complete Setup
Once reconnected, your internet should be working. You can now browse and use your connection normally.
Important Tips for Smooth Setup
Here are some helpful tips to avoid problems:
- Always place your router in a central location
- Keep it away from walls and electronic interference
- Use updated browsers for accessing the setup page
- Restart your modem before setup if the connection isn’t detected
Troubleshooting Common Issues
Even with a simple process, you might face some issues. Here’s how to fix them:
Router Login Page Not Opening
- Check if you entered the correct IP address
- Try another browser
- Clear browser cache
- Restart your router and try again
Incorrect Login Credentials
- Use default username and password from the label
- If changed earlier, reset the router
No Internet Connection
- Ensure the modem is working properly
- Check cable connections
- Restart both modem and router
Slow Internet Speed
- Place the router properly
- Reduce connected devices
- Update firmware via the web interface
Advantages of Manual Setup
Setting up your router without an app comes with several benefits:
- More control over settings
- Faster troubleshooting
- No dependency on mobile apps
- Works on any device with a browser
Conclusion
Setting up your Netgear Nighthawk router without using an app is simple, quick, and effective. With just a browser and a few steps, you can get your network up and running in minutes. This method is especially useful if the app isn’t working or if you prefer manual control.
By following this guide, you can easily complete the setup, customize your network settings, and enjoy a stable internet connection without any hassle.